Monday, November 4, 2013

SPLENDA®, Part Deux

Pumpkin Cake with Cream Cheese Frosting
 
After the great success I had using SPLENDA® Sweetener in the Apple and Squash Bake recipe, I decided to tackle the Pumpkin Cake with Cream Cheese Frosting recipe found on the splenda.com site...and I'm glad I did! OMG, this cake is amazingly moist! I brought it into work and it all disappeared in minutes. Everyone commented about the moistness and I had three people ask me for the recipe. SCORE! Now keep in mind I'm not much of a baker, meaning I make a cake/muffins/cookies about twice a year. And even I nailed this one!
INGREDIENTS
1 cup SPLENDA® No Calorie Sweetener, Granulated
1/2 cup brown sugar
3/4 cup canola oil
1 cup egg substitute
1 (15 ounce) can pumpkin puree
2 cups all-purpose flour
2 teaspoons baking powder
1 teaspoon baking soda
1 tablespoon cinnamon
1/4 teaspoon ground cloves
1/4 teaspoon salt
Frosting
1 (8 ounce) package reduced fat cream cheese
1/4 cup butter, softened
1/2 teaspoon vanilla
1 drop imitation maple flavor
1/2 cup SPLENDA® No Calorie Sweetener, Granulated
1/2 cup powdered sugar
DIRECTIONS
Preheat oven to 350 degrees F. Lightly oil or spray a 13X9 inch pan with baking spray. Set aside.
To make the cake: Place SPLENDA® Granulated Sweetener, brown sugar, oil, egg substitute and pumpkin puree in a large mixing bowl. Mix until well blended. Add remaining ingredients and stir well. Pour cake batter into prepared pan.
Bake in preheated 350 F oven 25-30 minutes or until when a toothpick inserted into the center comes out clean. Cool cake.
To make the frosting: Place frosting ingredients in a mixing bowl. Mix on medium speed until well blended. Ice cake when cake is completely cool.
Optional garnishes: Sprinkle finely chopped walnuts or crushed ginger snaps over the top of the cake.
________________________________________
I love that you mix all the wet and dry cake ingredients in one bowl, unlike most recipes that require two.
After pouring the batter into a 9x13 pan, I mixed up the frosting. I did use more maple extract than called for, probably 4-5 drops or so. The recipe says 1 drop. ONE drop??? Really, nobody is gonna taste that. No need to skimp!
My cake was done after 22 minutes. I'm glad I checked it early! I'm pretty sure I would have cried if I baked it too long. Admit it...that would have been a tragedy. I thought it possibly maaaaybe kinda sorta looked dry when I pulled it out of the oven, but boy was I wrong. The hardest part was letting it cool so I could frost it.
And here we have the final product. Isn't she a beauty? No one at work could tell it was made with SPLENDA® Sweetener. I could taste a bit of a difference, but maybe that's just because I knew what went in it. Either way, this cake is a winner! I was told to bring it in anytime at work!
This cake paired perfectly with a nice warm cup of Chai Latte. I substituted the white sugar in the recipe with SPLENDA® Sweetener with really good results. I also tried this recipe using coconut milk and it was really tasty.
Hope you love this cake as much as I did!
 
* I participated in a campaign on behalf of allrecipes.com for SPLENDA® Sweetener. I received samples to facilitate my unbiased review as well as promotional items as a thank-you for participating.

Friday, November 1, 2013

How Sweet it is...

...or isn't! I'm talking about SPLENDA® Sweetener. Cooking & baking with SPLENDA® Sweeteners means less calories from added sugar. While I don't do a lot of baking, there are times (ahem, Thanksgiving) where sweet sides makes their way into my menus.

I've been trying to live a lower-sugar lifestyle since March, and being able to still enjoy sweet dishes and desserts without depriving myself of the occasional treat makes me happy! I don't use a lot of sugar or artificial sweeteners, but when I do, I much prefer the taste of sucralose (which is what SPLENDA® Sweetener is) to aspartame.

In October, I was lucky enough to try four different SPLENDA® Sweeteners, thanks to their company's generosity. They included SPLENDA® ESSENTIALS™ No Calorie Sweetener with 1 Gram of Fiber, SPLENDA® No Calorie Sweetener (Granulated), SPLENDA® Sugar Blend and SPLENDA® Brown Sugar Blend.

The first recipe I made was Apple and Squash Bake from the SPLENDA® Sweetener website and uses the granulated SPLENDA® Sweetener. This recipe is quick, easy, and only has 120 calories per serving! I easily halved the recipe and used a 1.5qt (6"x9") casserole dish. Speaking of casserole dishes, if you're in the market for some new ones, these are the greatest! And here's a recipe tip: if you don't have Mace (the spice, not the weapon!) that's called for in the recipe (considering a lot of people don't keep that in their kitchens), you can easily substitute nutmeg. Mace can be pretty pricey, but since I'm a spice hoarder (over 100 *cough* different spices/herbs *cough*), I just happened to have some in my cupboard.

INGREDIENTS

1/3 cup SPLENDA® No Calorie Sweetener, Granulated
1 teaspoon molasses
1/4 cup light butter
2 tablespoons all-purpose flour
1 teaspoon salt
1/2 teaspoon ground mace
2 pounds butternut squash - peeled, seeded, and cut into 1/2 inch slices
2 large apples - cored, and cut into 1/2 inch slices

Preheat oven to 350 F.

In a medium bowl, stir together SPLENDA® Granulated Sweetener, molasses, butter, flour, salt, and mace.

Peel and chop the butternut squash into 1/2" pieces and place in an ungreased dish.

Top with the apples.
Pour the topping mix on the apples and squash.
Cover with foil and bake at 350 F for 50-60 mins. Seriously, how easy is that? And OMG, does it smell amazing when it's baking. While waiting for this treasure to bake, I made myself some apple cider. The recipe can be found on allrecipes.com. Instead of the full amount of maple syrup that was called for, I subsituted half for SPLENDA® Granulated Sweetener.

Finally the 50 minutes were up and I ran over to the oven to extract the deliciousness, hoping it would taste as good as it smelled.

And the taste? A whole lotta WOW with the perfect hint of molasses and mace, and the salty/sweet thing I love so much. I should clarify that this is NOT a very sweet side, which in my books is a bonus. This recipe is such a welcome change from the marshmallowy, brown sugary, cloying sweetness of those sweet potato casseroles that seem to pop up at every holiday. *shudder* This recipe will become a staple in my home, especially since it's so quick to make. You should consider serving this as part of your Thanksgiving meal this year!

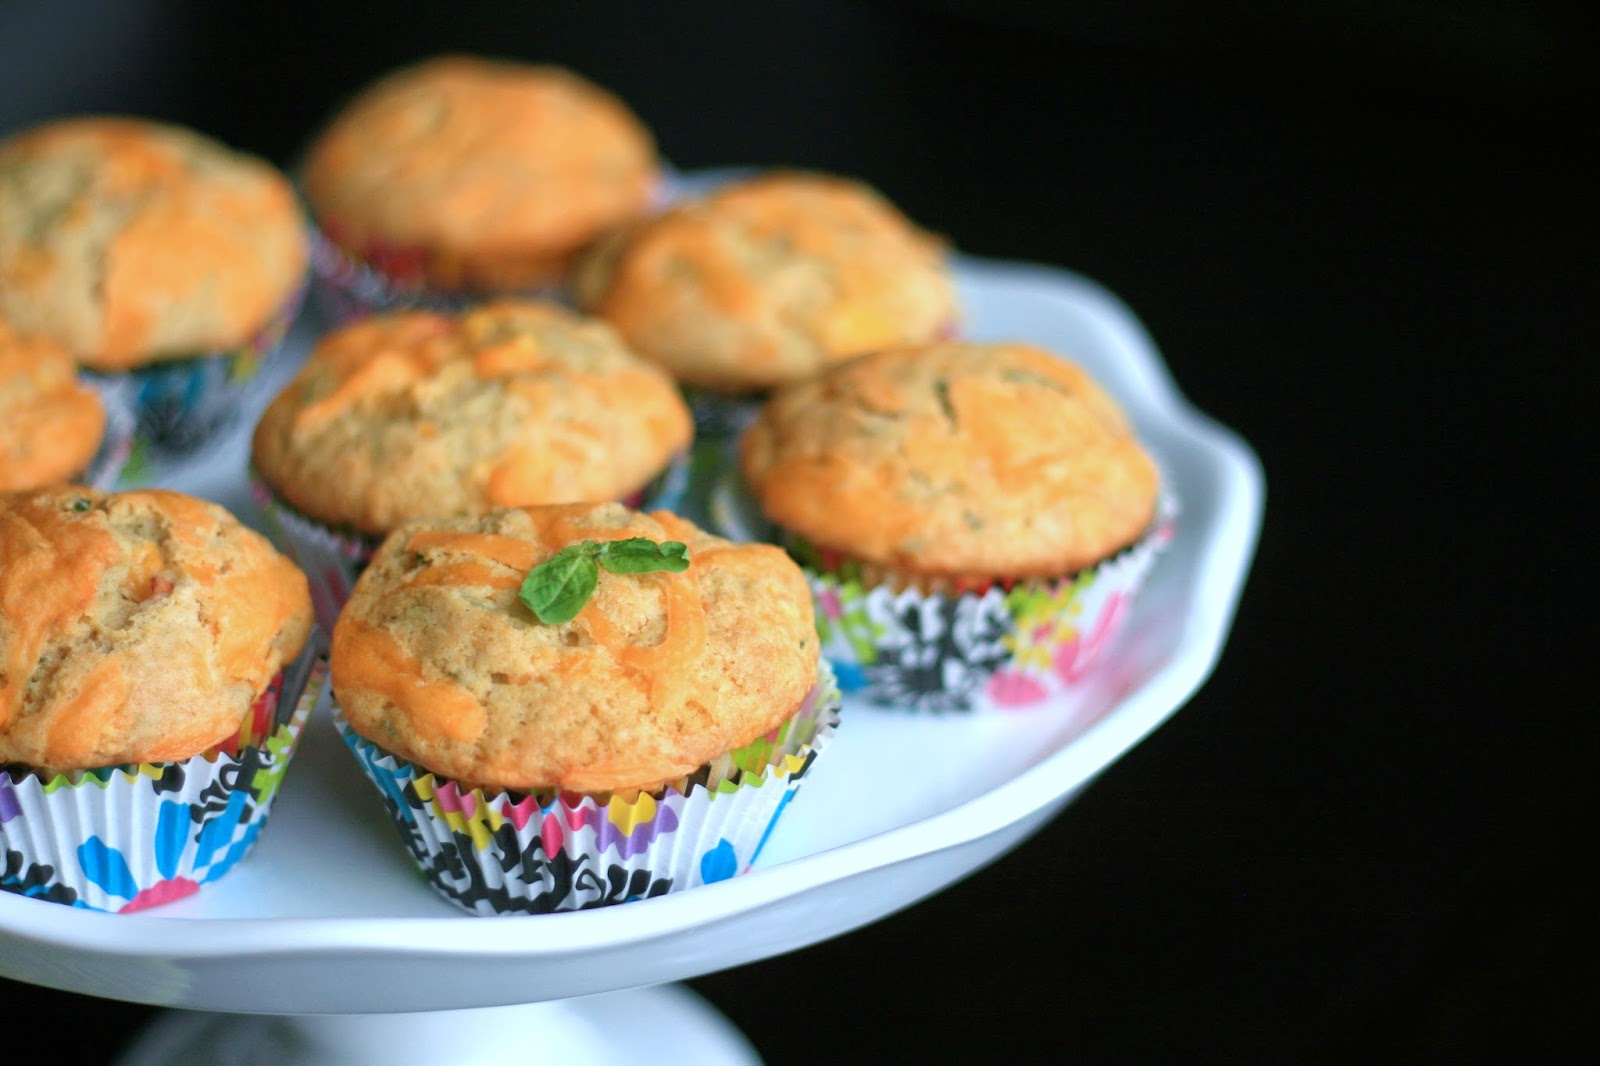
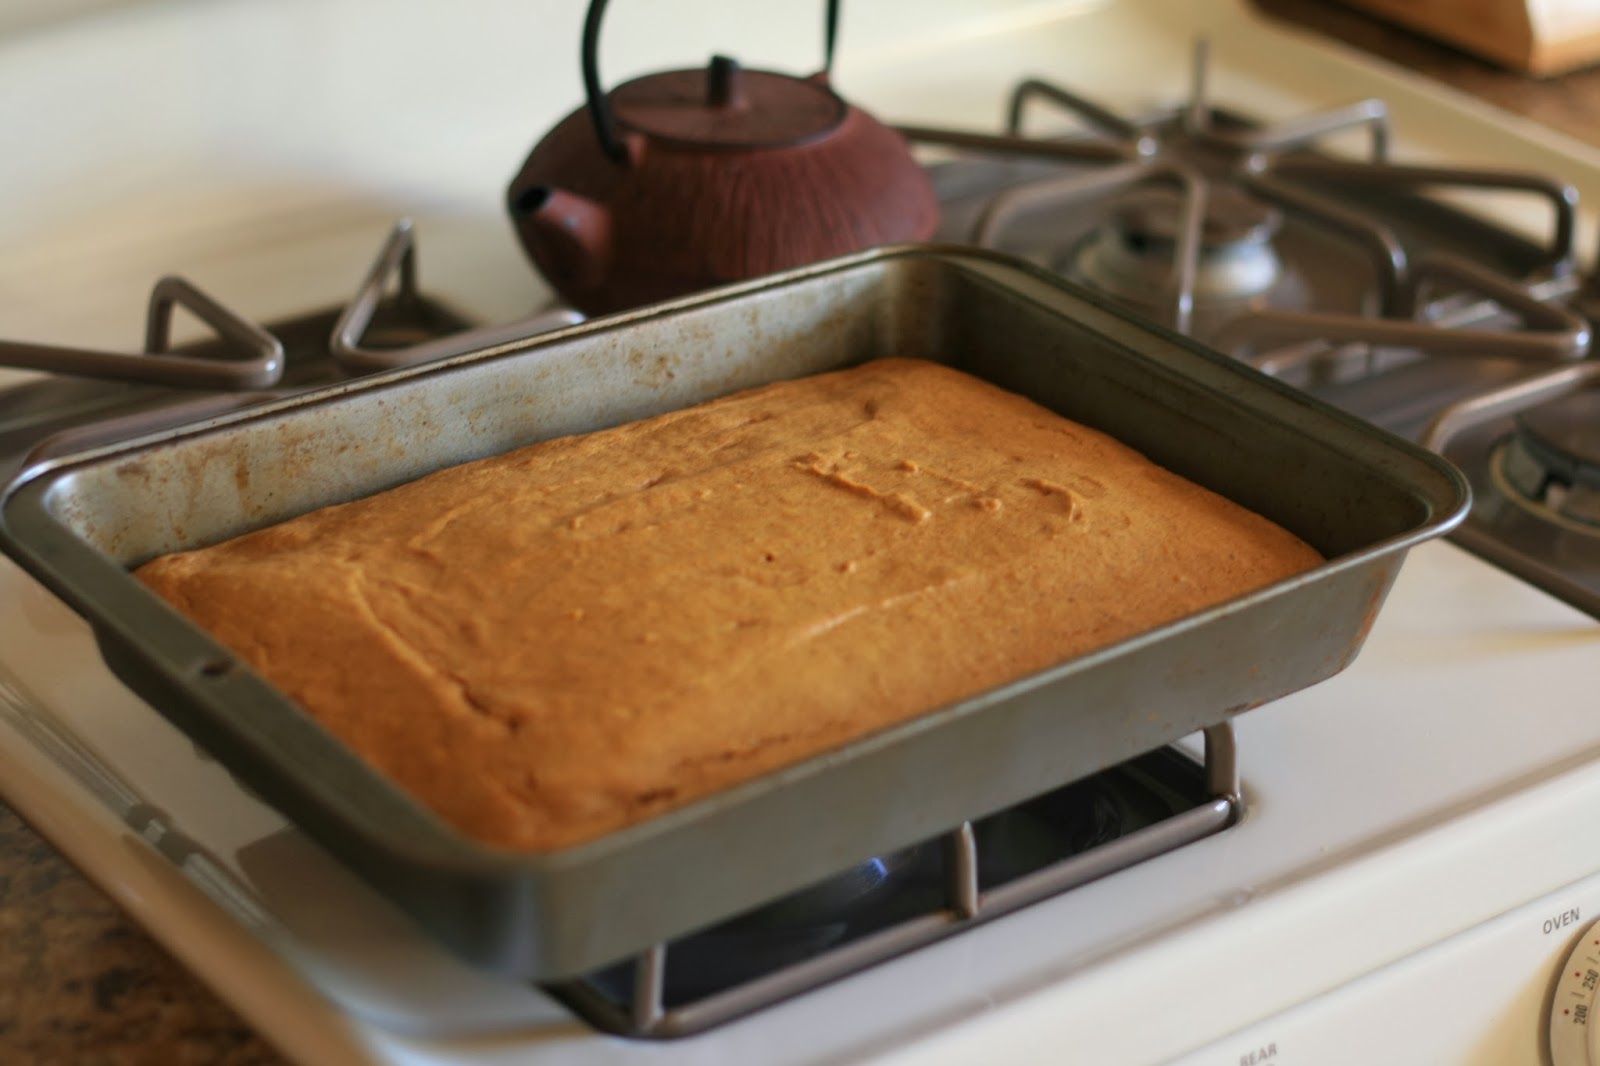
Stay tuned for my second SPLENDA® Sweetener recipe that I'll be making soon, Pumpkin Cake with Cream Cheese Frosting. I know, I'm already drooling all over my keyboard.

* I participated in a campaign on behalf of allrecipes.com for SPLENDA® Sweetener. I received samples to facilitate my unbiased review as well as promotional items as a thank-you for participating.

Thursday, October 31, 2013

Ore-Ida, alrighty!

I've been a big fan of Ore-Ida products for years, especially their hash browns and tater tots. I mean, who in their right mind doesn't like tater tots!?!?! DUH! As part of my involvment with the allrecipes.com Allstar/Brand Ambassador program, I had the opportunity to try some Ore-Ida products and see how I could incorporate them into my meals.

The first recipe I made was Reduced Fat Potato Soup which you can find here on allrecipes.com. Considering I'm on a weight loss journey, the name immediately caught my eye. Reduced Fat you say? Sign me up! Normally potato soup is loaded with heavy creams and mucho calories. I was quite surprised that this soup was only 135 calories per serving! No way! Ore-Ida O'Brien Potatoes were the perfect ingredient for this soup. Oh, and let me mention how quick and easy it is! All you do is simmer the hash browns in some chicken stock, then whisk in a packet of country-style gravy. THAT'S IT. I'm serious! Top it with some reduced-fat cheddar cheese and green onions and you have the perfect autumn meal!

The second recipe I made with Ore-Ida products was...get ready for this one...Tater Tot Poutine!!! Wait, why aren't you jumping up and down? You mad? Oh, you don't know what poutine is. Friends, let me tell you, this is one of my favorite French Canadian dishes from back home. Yes, it does have heart-attack-on-a-plate-ish qualities, but those are minor details. For those who don't know, poutine is essentially fries topped with cheese curds and gravy. I'm not talking about freaky pale country-style gravy either! Do it right, or don't bother! Check out wikipedia for more than you'll ever care to know about poutine.

Now where was I? Right, so it's pretty much impossible to find poutine here in the US. If I get a serious craving, I always make it myself. But I try not to eat it too often, although it is a pretty stellar cure for a hangover. Just sayin'. I decided to put a twist on the traditional meal and use tater tots instead of fries. Who knew!? Pure deliciousness. I think there may have been angels singing at some point during my meal. This was scary good and I'm never, ever, EVEREVER making it again. (yeah, whatevs...screw you diet!)

Where's the recipe? You don't need one! I like to use a rich beef gravy, a lot of people use chicken, some use chicken/beef mix. Use what you want, but for the love of God, step away from the pale stuff! Cook those tater tots til crispy, throw on a handful of cheese curds, and top it with that awesome gravy of yours! That's it!

I decided to take a break from the madness and do something simple for my third meal. Why not let hash browns be hash browns? So that's what I did. Nothing fancy here, folks! Cook up some hash browns, top with shredded cheddar and an egg. Yup. Breakfast. Ain't she a beauty?

Three simple recipes, all made with a fabulous product from Ore-Ida. Check out their website for more recipe ideas and tips!

Johnsonville to the rescue!

I'd been buying Johnsonville sausage for years, but over time I managed to wander off and gradually started buying the store brand sausage. Why? I couldn't even tell you. Price? Maybe. Flavor? Heck no! It's not until earlier this year when Johnsonville teamed up with allrecipes.com, that I was knocked upside the head with an avalanche of flavor. As part of my allrecipes Brand Ambassador monthly assignment, I was asked to prepare several meals using Johnsonville sausage. It was then that I realized both the quality and flavor were far superior to the store brand I had been buying (for reasons unknown), and I quickly made the switch back to Johnsonville.

This month I made three recipes using the sausage. I chose to use the Pork & Chicken mild Italian with 50% less fat than traditional Italian Sausage, since I'm on a weightloss journey and watching what I eat. Excellent choice, healthy, and packed with flavor!

The first recipe I made was Pizza Pasta, found here on allrecipes.com. A big thumbs up on this meal! I love pizza, although I rarely eat it anymore. I used green olives and whole wheat pasta. This one's a keeper for those days I'm craving pizza! By using the lower fat sausage, part-skim mozzarella and whole wheat pasta, I was able to lower the calories from 593 calories and 36g of fat down to 440 calories and 21g of fat! Bonus!

The second recipe I made was Chiliville Chili found here. Now I'm quite picky about my chili, and was pleasantly surprised by this recipe. The sausage adds a ton of oomph and I loved the hint of sweetness from the brown sugar. Another keeper!

Lastly, I made Johnsonville One-Pan Italian, found here. I have to say I was VERY skeptical about this one, but the reviews were amazing, how could I not try it!? This is very quick, and the best part is that you only use one pan, as the name states! You brown the sausage, dump in your sauce, add in some water, then toss in the dry pasta! The pasta cooks in the sauce and soaks up all sorts of flavor. Crazy simple, right?

I was a little hesitant to use 3 cups of water, but it turned out perfectly. I did have to cook the pasta for about 4-5 minutes longer than stated in the recipe, but I was using whole wheat spaghetti. I will definitely make this again! Of course, it's only as good as the sauce you use, so try and use a high-quality jarred sauce, or your own homemade sauce. By using lower fat sausage, whole wheat spaghetti and a lower calorie jarred sauce (Victoria Trading Company's Tomato Basil Sauce), I was able to lower the calories from 675 calories and 38g of fat per serving down to 452 calories and 21g of fat.

Be sure to keep a few packs of Johnsonville sausage in the house, because on those days where you just don't know what to make, these recipes I've tried could become your favorites too! Let Johnsonville save the day and rescue your dinner! Check out the Johnsonville website for more delicious meal ideas!

Monday, September 2, 2013

Cow...get in my belly!

Beef, oh how I love thee. When I learned that beef would be the focus in August for the allrecipes Allstar program, I was thrilled! We absolutely LOVE beef in my family and I'm always looking for new and exciting ways to prepare it. I always want to cry when I hear people make comments like "I was told to cut back on red meat". Woah! NO! What a loss! That's crazy talk. I could never do it. It's my favorite meat! Not only that, I love how much protein it provides. I've been on an exercise/heath/weight loss kick for the last 5 months and I love having beef in my corner! POW!

I decided to make Cumin-Rubbed Steaks with Avocado Salsa Verde for my required assignment. Now you have to understand that I'm a steak FANATIC and I usually prepare it a certain way, or a close variation thereof, which consists of salt, pepper, Montreal Steak Seasoning, and most importantly, an outdoor grill! I never pan fry or broil steaks. I NEED the flavor from the grill! When I saw the only seasoning on this steak was cumin, I was pretty hesistant that this would even be edible, but what the heck, I'm adventurous. Let's do this thing!

I made the recipe exactly as written, except...you guessed it, I seared it to a perfect medium rare ON THE GRILL! None of that skillet nonsense. Let me tell you. OMG. This has now become a recipe in my regular rotation. Not only is it quick and easy, the flavor is outrageous! I served it with a green salad and my Dijon Roasted Potatoes. YUM! I used a good quality sirloin, but I'll also try it with skirt steak, served in fajitas or tacos.

Check out the Beef. It's What's for Dinner. website for great recipes and to learn of the nutritional benefits of eating beef.

Friday, August 2, 2013

Say Cheese!!! Summer Peach, Basil & Cheddar Muffins


Not having to shred your own cheese is a huge time-saver when you've got a lot of things going on. When I was given the opportunity as an Allrecipes.com Brand Ambassador to come up with a new recipe using Sargento cheese, I knew it'd be right up my alley! The theme I was given was "Summer Everyday" and I was thrilled to come up with a recipe that would scream summer throughout the year.

When I think of summer, I think immediately of a nice ripe juicy peach. Although peaches are at their peak in summer, if you're lucky, your store will carry them in winter too. Peaches have the perfect combination of sweet and tart flavors. What better way to chase the winter blues away!

I love combining sweet and savory flavors together and thought peaches and sharp cheddar would be the perfect marriage of flavors. Add to that a hint of fresh basil and voila, you have Summer Peach, Basil & Cheddar Muffins. Check out my published recipe over on allrecipes.com or keep reading!

These are a savory muffin with just a hint of sweetness, perfect for a summer brunch, a side at lunch, a quick breakfast or a mid-day treat throughout the year! They were inspired by Apple Cheddar muffins my mom used to make when I was growing up. I always loved taking a bite and tasting sweet and salty flavors. My brother and I used to eat the whole dozen up in no time!


I

For this recipe, it's best to use RIPE fresh peaches. They provide the perfect amount of juice to mix into the flour. I like to sprinkle the minced basil and a tablespoon of brown sugar on the diced peaches and let them sit for about 15-20 minutes to really let the flavors blend and get the juices out of the peaches.


Next all you have to do is add the dry ingredients to the peaches and they're all set to bake, once you top them with a bit of shredded cheese.


If you find the batter too dry, you can add in a splash of milk, but I've never had to do this since I always use very ripe peaches. In a pinch, you could use frozen peaches, but fresh peaches give the most flavor. I also like to leave the peaches unpeeled for an extra punch of color.

I absolutely love these served slightly warm and I hope you enjoy them as much as I do! I brought a dozen of these to work while I was still tweaking my recipe, and they disappeared within minutes! Thank you Sargento for helping my recipe come together perfectly!


print recipe
Summer Peach, Basil & Cheddar Muffins
Ingredients
  • 4 peaches, cut into 1/2 inch pieces
  • 4 tsp fresh basil, minced
  • 1/2 cup brown sugar
  • 1 1/2 cups flour
  • 1 1/2 tsp baking powder
  • 1/2 tsp baking soda
  • 1/2 tsp salt
  • 1 cup shredded extra-sharp Cheddar cheese (such as Sargento Off the Block)
  • 1/2 cup + 1/4 cup butter, room temperature
  • 2 eggs, room temperature
Instructions
1. Preheat oven to 350 degrees F (175 degrees C). Grease 12 muffin cups or line with paper liners.
2. Mix peaches, basil, and 1 tablespoon brown sugar in a bowl; let sit until sugar dissolves, about 15 minutes.
3. Sift flour, baking powder, baking soda, and salt together in a large bowl. Mix 1 cup Cheddar cheese into flour mixture.
4. Beat butter and remaining 7 tablespoons brown sugar in a bowl with an electric mixer until smooth and creamy. Add eggs, one at a time, until just combined; gently fold in peaches.
5. Mix flour mixture, a little at time, into peach mixture until batter is just combined.
6. Spoon batter into the prepared muffin cups. Sprinkle remaining 1/4 cup Cheddar cheese over batter.
7. Bake in preheated oven until a toothpick inserted in the middle of a muffin comes out clean, about 25 minutes.
Details
Prep time: Cook time: Total time: Yield: 12 muffins